
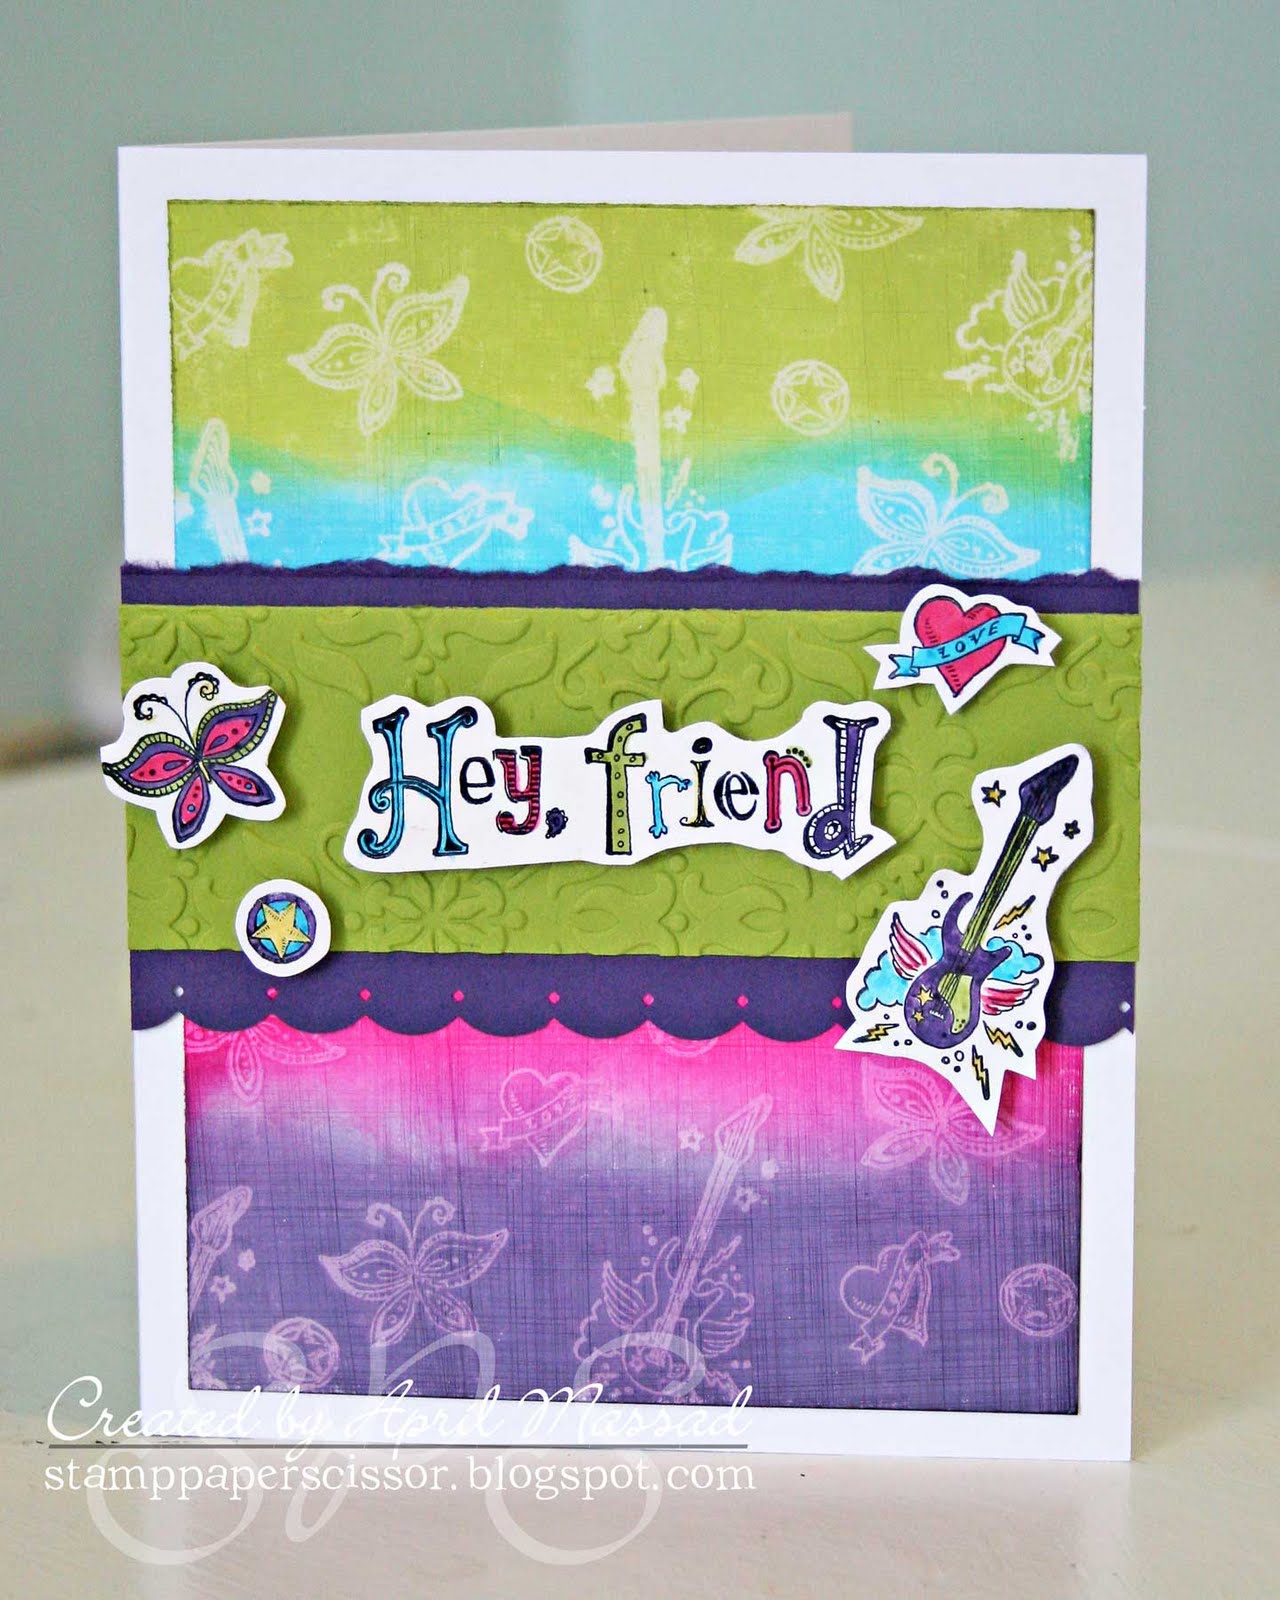
Today I'm sharing a card that I have combined the Versamark Resist technique and the Faux Denim/Linen technique on. The stamp set I used is called Friends Rock and it's retired. You can buy my used Friends Rock set HERE or the current stamp sets Best Friends Forever or Grunge Rock would be perfect for this card!
Supplies and instructions for making this fun card are listed below!

Supplies:
- 5x6.5 inch white card base
- 4.5x6 inch piece of glossy cardstock
- 1.75x5 inch piece of Lucky Limeade carstock
- 3x5 inch piece of Elegant Eggplant carstock
- Glossy cardstock for stamped and colored elements
- Vintage Wallpaper Embossing Folder
- Friends Rock Stamp Set
- Border Punch
- Versamark
- Ink pads in Lucky Limeade, Tempting Turquoise, Elegant Eggplant, Melon Mambo
- Stazon in Black
- Markers in Daffodil Delight, Lucky Limeade, Tempting Turquoise, Elegant Eggplant, Melon Mambo
- Sandpaper or sanding block
- Sponges or ink applicators
Instructions:
1. Take your large piece of glossy cardstock and stamp your images randomly all over the piece with Versamark ink. Allow to dry or heat with a heat gun until dry.
2. Take your glossy cardstock and sand in straight lines horizontally and then vertically from top to bottom. (This will give you the linen texture)
3. Take your ink and ink the glossy cardstock with your sponge starting at the bottom with the Elegant Eggplant and working your way to the top of the cardstock with different colors. Keep going over it with the sponge and work in circular motions to wipe the ink from the stamped images. This will make the images pop and become lighter. Set aside to dry.
4. Attach the inked piece of glossy carstock to the front of your card base.
5. Take your piece of Elegant Eggplant cardstock and border punch along the bottom. (Optional: Rip along the top of the cardstock so it will be close to 2.5 inches wide.)
6. Take your piece of Lucky Limeade cardstock and emboss it with the Vintage Wallpaper embossing folder. Adhere to the piece of Elegant Eggplant and adhere to the front of the card.
7. Stamp the desired images and sentiment onto glossy cardstock with the black Stazon ink. (Stazon is a permanent ink and will not bleed while coloring with the markers.) Color the stamped images and cut out. To make the color darker on the glossy carstock simply color over it again with the same color until the desired darkness is achieved.
8. Adhere the images and sentiment to the front of the card using foam adhesive squares.
This card is so much fun to make! You could change up the colors and make it a boy card! Any of the sports stamp sets would make perfect backgrounds! The possibilites are endless!
If you have any questions about this card simply email me at aprilmassad@yahoo.com or comment here!
To purchase the Stampin Up products in this post contact your Stampin Up deomstrator or go HERE.


